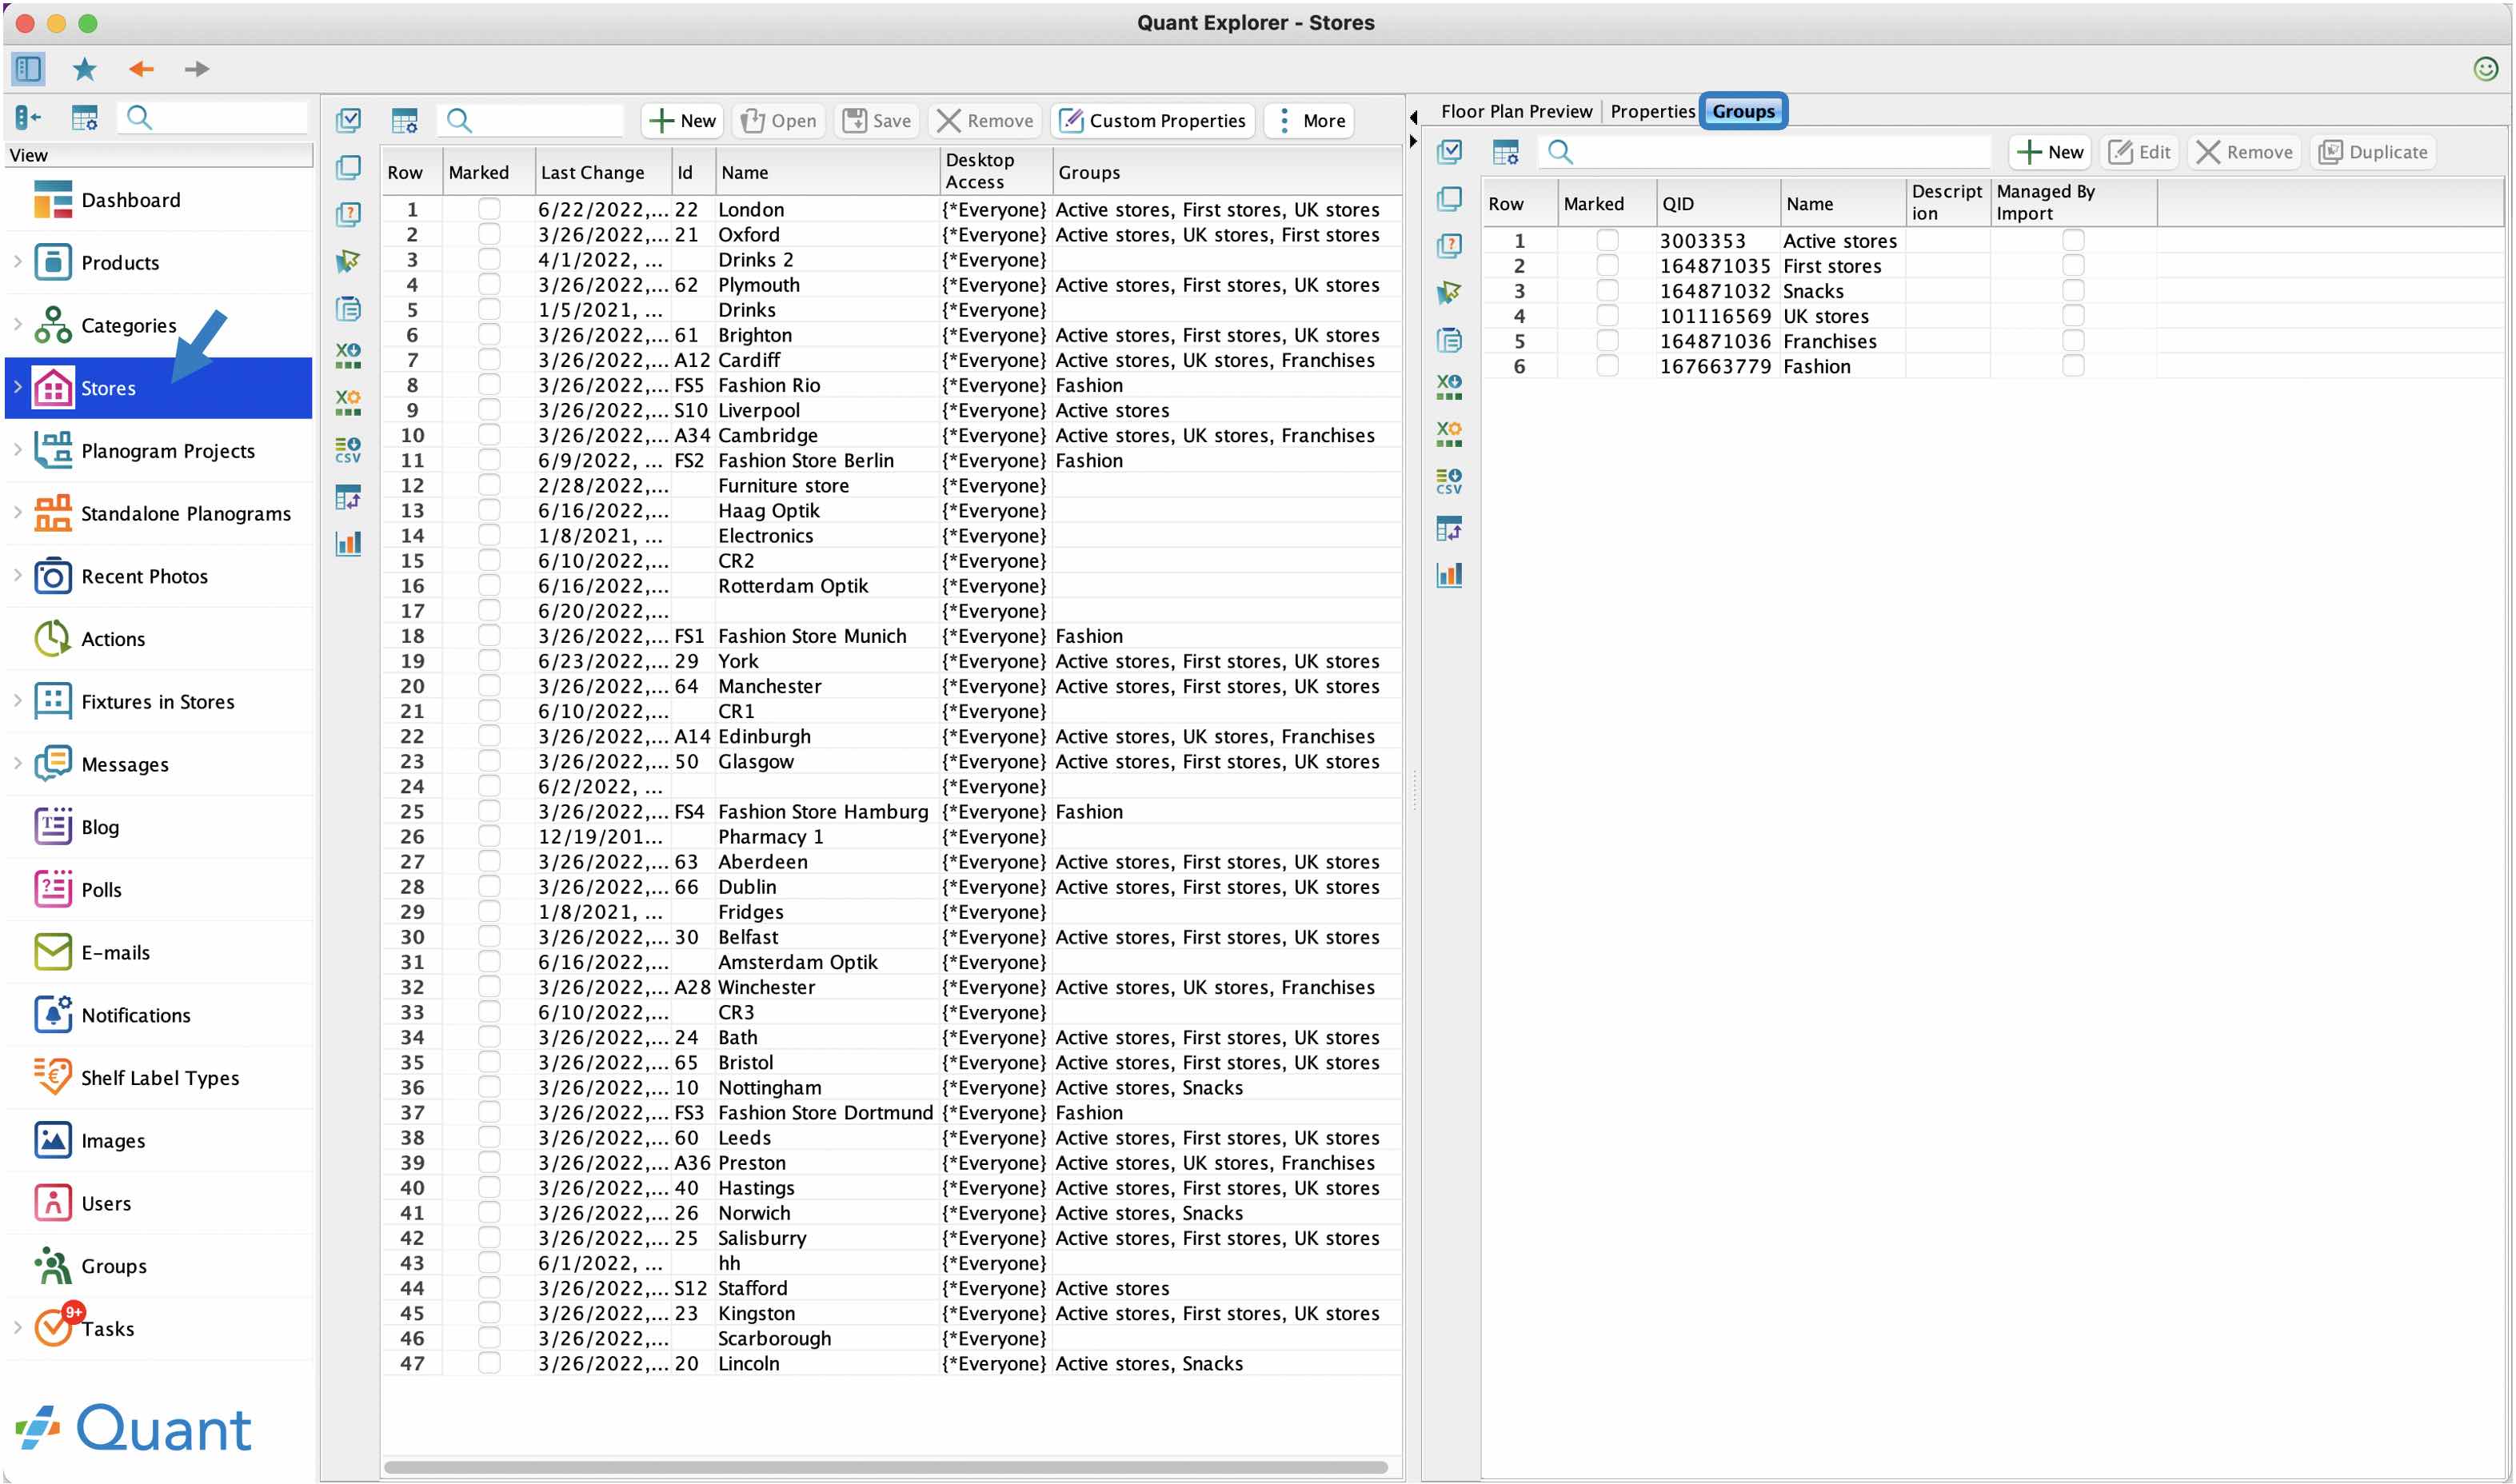
Store Groups
In Quant, stores are classified into logical groups for easier orientation and work with them. For example, you can create a group of all stores that are located in one region. Then you can assign the group to the manager who should manage the stores in the region.
Examples of application:
- Classification of the stores by regions and the subsequent assignment of the entire group of the stores to the user who manages the given region.
- You regularly publish blog post or poll to a certain group of stores. It is worth creating one group for such stores not to have to assign each store separately to every newly published poll/blog post.
- A store group can be included in the project. When you create a new store and assign it to this group, the store will be automatically displayed in the project and you will not have to add it to the project manually.
- In analyses, you can analyse the entire group of stores. If you often compare, for example, ten identical stores, a group for these stores is worth creating not to have to add individual stores separately every time.
In the manual, you will find answers to the following questions:
 Stores
Editing store groups
Editing store groups
How to create a store group?
- In the Stores section in the Groups tab, click on the New button.
- Enter the Name for the new store group.
- Click on OK.
Individual store groups can be renamed or a description can be completed using the Edit button.
Any store group can be removed by the Remove button. However, it is possible to remove only an empty store group, i.e. a store group that does not include any stores.
You can use the Duplicate button to copy the selected group.
Moving a store to/from the store groups
How to add a store to a store group?
- In the table, select the store that you wish to include in the store group.
- In the Properties tab, click in the Groups row.
- Mark the store groups to which the selected store should belong.
- Click on the OK button.
- Confirm the change by clicking on the Save button.
One store may belong to several store groups.
Using the same operation, a store can be removed from the store group: In the table, select the store, in the Properties tab, click in the Groups row, unmark the group to which the store should not belong, and save the store.
Bulk moving several stores to/from the store groups
Quant possesses a tool that allows several stores to be added to/removed from the store group at the same time.
How to add several stores to a store group all at once?
- In the Stores section, select in the table all stores that you wish to add to the store group.
- Click on the Edit Marked button.
- Select the option Add to Groups and click on the Next buttton.
- In the new window, select the store groups, to which you wish the selected stores to be added, and click on the OK button.
Using the same operation, stores can be bulk-removed from the store group: In the window that will appear when you click on the Edit Marked select the option Remove from Groups.
If you mark a group in the Groups tab, only the stores that belong to that group are displayed in the stores table. At the moment, our store group Optik includes the following stores: Haag Optik, Rotterdam Optik and Amsterdam Optik.
Assigning a store group to a user
The store groups can be easily assigned to e.g. users. Among frequent applications is the creation of a store group, e.g. for a certain region, and its subsequent assignment to a certain user.
In our case, we will assign the already created store group Central Bohemia to a specific regional manager who is responsible for this area.
How to assign a store group to a user?
- In the Users section, select the user to whom you wish the store group to be assigned.
- Click in the Assigned Stores row.
- In the newly appearing window, in the Groups tab select the store group that you wish to assign to the user (Central Bohemia).
- Click on OK.
- Confirm the change by clicking on the Save button.